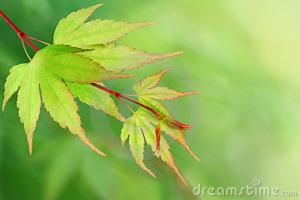
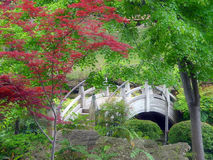
The need of sunlight for Japanese maple trees
The need of sunlight for Japanese maple trees by experts in the field of Japanese maple tree always stress the basic need of the plant, the sunlight. They have very solid reasoning behind this modest demand, and argue that the appropriate sunlight plays very vital role in the vibrant colors of these charming trees. Some expert even go further and claim that appropriate sunlight plays the ultimate role in maintaining the wonderful colors of this specie. But all of these claims do not forget to mention that these plants do require sunlight but in a suitable amount. Sunlight if provided in the prescribed way can greatly change the personality of the plant. The color scheme varies with the amount of sunlight received by the plant.
The need of sunlight for Japanese maple trees is important in moderation
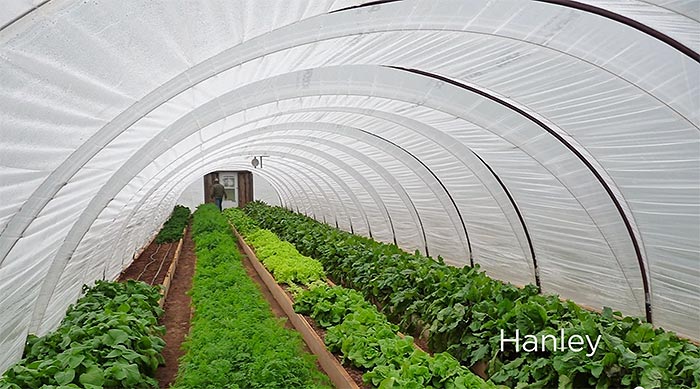
If you are planting the maple tree in a hot region which is known for its scorching sunlight then merely the sunlight of morning can be suitable for the plant. The delicate leaves of the Japanese maple tree cannot tolerate excessive heat. And a direct encounter with the high temperature can reduce the vibrancy of colors and in some cases can even burn the leaves. For this reason most of the people in hot regions grow them inside the buildings. But there are some alternatives that can be adopted if someone wishes to grow them in the garden. Shading is used in many cases to avoid direct sunlight. This mechanism is famous for its flexibility as it allows the gardener to remove the shade in the morning so that tree can receive required sunlight and in the afternoon when sunlight is not tolerable this shade can block the undesirable encounter. This proves to be a very handy tool in the hot regions.
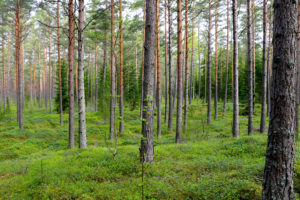
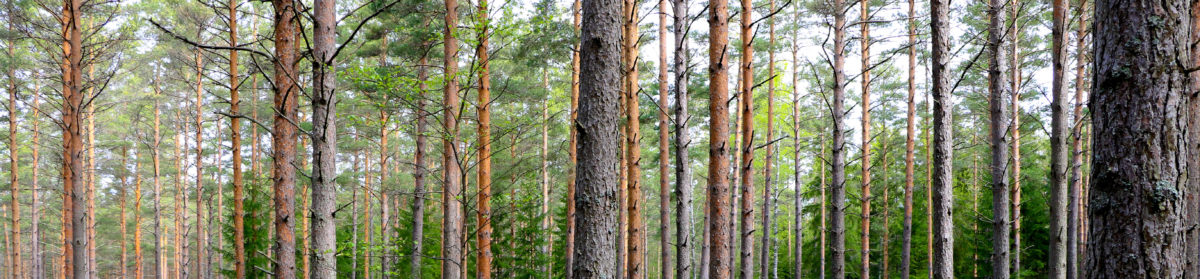
If buying a shade seems over burden on the pocket, then an appropriate site can save the money. A bunch of taller trees of different species can create the required shade for the Japanese maple but this option has a downside as well, as the plant has to compete with many plants for the resources. Moreover a taller building can provide the appropriate shade and can solve this problem. You must have noticed these shades do not have the flexibility that is associated with the artificial shading tools, which is again a tradeoff you have to consider before going for any of the two options. More often people who can afford a partial shading tool usually go for this excellent opportunity to save the time and this really adds the flexibility in choosing any kind of site suitable to the home or office.
Complete shading is only required in some cases, most of all when the tree cannot tolerate any encounter with the sunlight. In these cases it is preferred to place the plant indoor, this will not only add the glamour to the interior of building but eventually it will protect the plant as well. There has always been a trend of placing the Japanese maple tree inside the grand halls and corridors which exalt the environment and the sparking colors can compete with any astonishing piece of art. Most of the time this is achieved through the use of large pots and trays which can easily manage to handle such beauty in them. There are many varieties available which are of small heights and can easily adapt themselves in to any indoor environment. A regular pruning will keep them in accordance to the ambiance of home or office.
This emphasis on the shading is due to the plant’s consistent need of moisturizer. Too much heat can take away the essential moisturizer from the tree which can lead to undesirable state. For this reason in the regions where climate is known for its severity of heat, a proper arrangement of moisturizing is almost indispensable as oxygen. By keeping the proper arrangement you can enjoy the full glory of these innocent colorful Japanese maple in every season. The only thing you need to understand in the end is that there charm certainly deserve some extra bit of attention towards their safety.
Thank you for visiting www.howtoplanttrees.com and reading this Information on The need of sunlight for Japanese maple trees article post. We hope this was helpful and useful to you. Please do share this link with your friends, thanks.